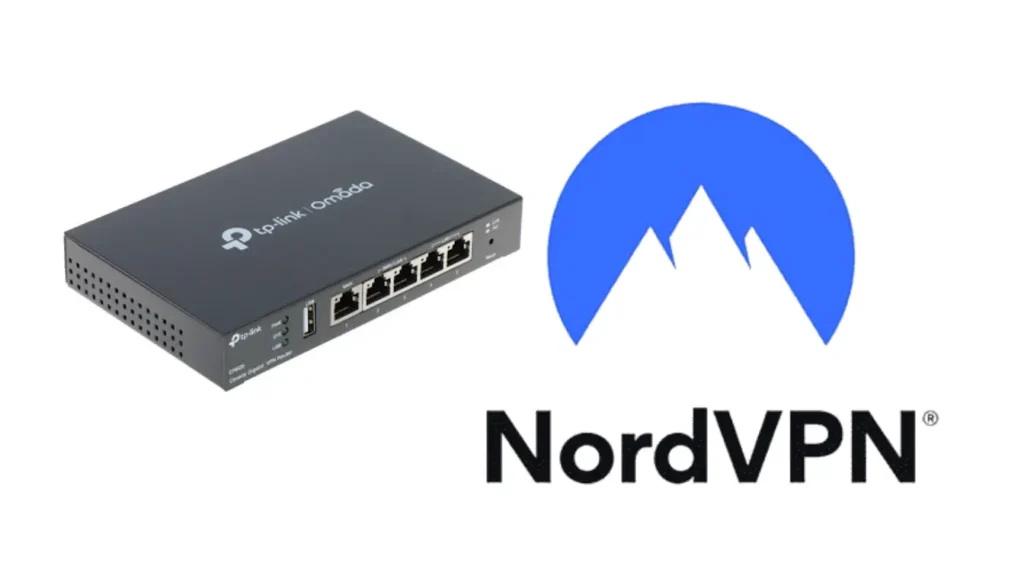
Setting up NordVPN on an Omada router ensures that all devices in your network benefit from security and privacy. By installing NordVPN directly on the router, you eliminate the need to configure VPN on each device individually. This is an ideal solution for families, businesses, or anyone seeking to safeguard multiple devices seamlessly.
In this guide, we will explain how to install NordVPN on an Omada router while optimizing your VPN setup for maximum security and efficiency.

Table of Contents
What You Will Need to Install NordVPN on Omada Router
Before you start the setup, ensure you have the following ready:
- A NordVPN Subscription: An active subscription to NordVPN is essential to connect to their servers and benefit from encryption services. Click here to subscribe
- A Compatible TP-Link Omada Router: Not all routers support VPN protocols. Ensure your router supports OpenVPN or WireGuard, both of which are necessary for a successful NordVPN setup.
- Updated Router Firmware: Make sure the firmware on your Omada router is up to date. Updating the firmware helps to avoid bugs and ensures the VPN configuration process goes smoothly.

Step-by-Step Guide: How to Install NordVPN on Omada Router
1. Access Your Router’s Settings
To begin the setup:
- Open a web browser and type in your router’s IP address (usually 192.168.0.1 or 192.168.1.1) in the address bar.
- Enter your admin credentials. These are typically provided by your router’s manufacturer.
2. Enable the VPN Client
Once you are in the router’s settings:
- Navigate to Advanced Settings and find the VPN Client option.
- Toggle the VPN Client on and save the changes. This step allows your router to support VPN connections.
3. Choosing the VPN Protocol
There are two VPN protocols supported by most Omada routers: OpenVPN and WireGuard. Choose the one that fits your needs.
OpenVPN Setup:
- Download the OpenVPN configuration files from the NordVPN website. Be sure to select the files for routers.
- In your router’s control panel, create a new VPN profile under the VPN Client section.
- Enter your NordVPN username and password, then upload the OpenVPN configuration file you previously downloaded.
WireGuard Setup (if supported by your router):
- Go to the VPN > WireGuard section.
- Add a new profile using NordLynx, which is NordVPN’s WireGuard-based protocol.
- Enter the VPN endpoint, private key, and allowed IPs (provided by NordVPN when generating the profile).

Advanced Configuration Options for Your NordVPN Installation
1. DNS Settings for Privacy
To avoid DNS leaks and maintain privacy, you should manually set the DNS servers to NordVPN’s secure DNS servers. In your router’s control panel:
- Go to Network > WAN > Advanced.
- Enter the following DNS addresses:
- Primary DNS: 103.86.96.100
- Secondary DNS: 103.86.99.100
This ensures that all DNS queries are routed through NordVPN, further protecting your browsing history from exposure.
2. Routing Specific Devices Through the VPN
If you don’t want every device in your network to use the VPN, you can configure VLANs (Virtual Local Area Networks) to route specific devices while others bypass the VPN:
- Go to Routing > Policy Routing in your router’s settings.
- Set up VLANs based on the devices you want to include or exclude from VPN routing.
For instance, you can exclude smart TVs or IoT devices from VPN routing for better performance while keeping your laptops and mobile devices protected.
How to Monitor and Verify Your NordVPN Installation
Once you’ve completed the NordVPN setup on your Omada router, it’s crucial to check if everything is working properly.
1. Checking VPN Status
To verify if your network is routing traffic through NordVPN:
- Go to VPN > Status in the Omada dashboard.
- You can also visit a site like whatismyip.com to confirm if your IP address reflects a NordVPN server location instead of your local one.
2. Testing Speed and Stability
Running a speed test is a good idea since VPN encryption can sometimes reduce your internet speed. Tools like Speedtest.net can give you insights into your connection’s performance.
If you notice a significant drop in speed, try switching to a different NordVPN server or changing the VPN protocol from TCP to UDP for faster connections.

Troubleshooting Common Issues
1. Connection Failures
If NordVPN fails to connect, ensure that your configuration files are up to date and that you entered your NordVPN credentials correctly.
2. Routing Issues
If not all your network traffic is routed through the VPN, revisit the VLAN and routing settings to ensure proper configuration.
Avoid Common VPN Pitfalls
1. Firmware Bugs
Firmware bugs can sometimes cause the VPN settings to malfunction. Regularly check for firmware updates to ensure everything runs smoothly and uses secure encryption protocols like AES-256-CBC for OpenVPN.
2. WireGuard-Specific Challenges
When using WireGuard, all traffic might be directed through the VPN by default. You can modify the Allowed IPs field to route only the traffic you want to go through the VPN, while allowing other traffic to bypass it.
External Resources to Help Install NordVPN on Omada Router
For further assistance, you can refer to:

Internal Links for Related Content
- What is a VPN, and How Does It Work? 2025
- Explore our comprehensive VPN reviews.
Conclusion: Successfully Install NordVPN on Omada Router
By following this guide, you can install NordVPN on your Omada router and secure your entire network. Whether you’re configuring advanced settings like split tunneling or ensuring your DNS queries are encrypted, this process will help you achieve optimal security for all your devices.
With NordVPN running on your Omada router, your data is encrypted, your browsing is private, and your entire network enjoys protection from online threats.
Our recommendations


